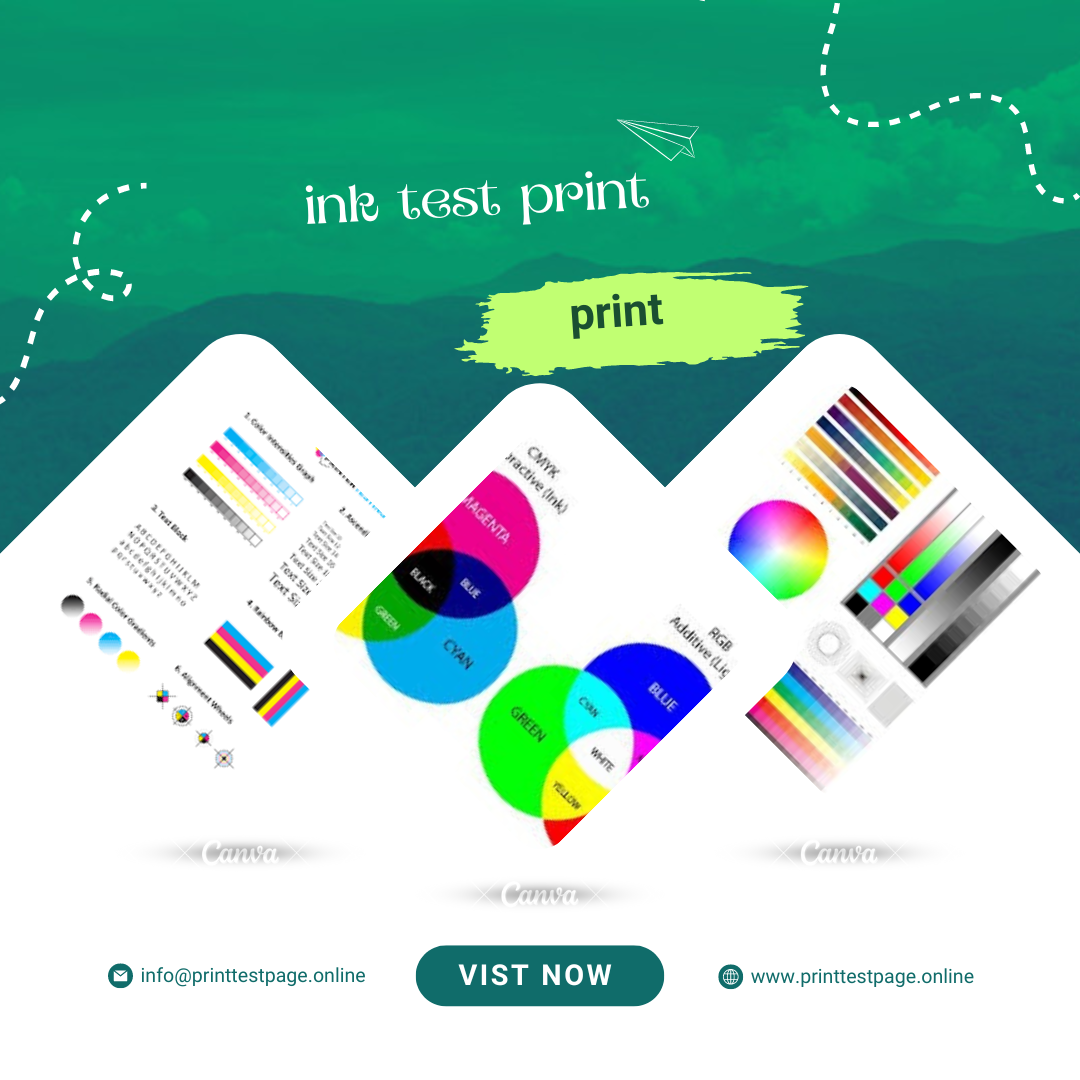
Ink test prints are a crucial aspect of the printing process, ensuring that the final product meets high standards of quality and accuracy. Whether you’re a professional printer or an enthusiast, understanding ink test prints can help you achieve the best results in your projects. This comprehensive guide will explore everything you need to know about ink test prints, from their purpose and benefits to the detailed process of conducting one effectively.
What is an Ink Test Print?
An ink test print is a preliminary print run used to evaluate the quality of ink and its interaction with the printing medium. It helps in assessing color accuracy, ink density, and overall print quality before the final production. By conducting a test print, you can identify and correct issues such as color mismatches, ink smudging, or improper registration.
Why Conduct an Ink Test Print?
Ensuring Color Accuracy
Color accuracy is critical in printing, especially for projects involving branding or detailed imagery. An ink test print allows you to verify that the colors in your print match the intended design. By examining the test print, you can make necessary adjustments to achieve precise color reproduction.
Checking Ink Density and Coverage
Different types of paper and printing methods can affect ink density and coverage. An ink test print helps you evaluate how well the ink is distributed and whether the coverage is consistent across the entire print. This ensures that the final product does not suffer from issues like streaking or uneven ink application.
Identifying Potential Printing Issues
Conducting an ink test print can reveal potential problems such as smudging, bleeding, or misalignment. By catching these issues early, you can make adjustments to avoid costly mistakes and ensure a high-quality final print.
The Ink Test Print Process
1. Prepare Your Artwork
Before conducting an ink test print, ensure that your artwork is finalized and properly formatted. This includes checking the resolution, color profiles, and file format. High-resolution images and accurate color profiles will result in a more reliable test print.
2. Select the Right Paper and Ink
Choose the paper and ink that will be used for the final print. The test print should be conducted on the same type of paper and with the same ink to accurately assess the final output. Different paper types and inks can affect color and coverage, so consistency is key.
3. Configure Your Printer Settings
Ensure that your printer settings are correctly configured for the type of paper and ink being used. This includes adjusting parameters such as ink density, print speed, and resolution. Proper configuration will help you achieve more accurate test prints.
4. Print the Test
Run the ink test print using the configured settings. It is advisable to print multiple test pages to assess color consistency and ink coverage across different areas. This will provide a more comprehensive understanding of the print quality.
5. Evaluate the Test Print
Carefully examine the test print for color accuracy, ink density, and overall quality. Compare the printed output to your digital design to ensure that the colors and details match. Make note of any discrepancies or issues that need to be addressed.
6. Make Adjustments
Based on your evaluation, make necessary adjustments to the printer settings, ink, or paper. If the colors are not accurate, consider recalibrating your printer or adjusting the color profiles. If ink coverage is uneven, check the ink levels and printer maintenance.
7. Conduct Additional Test Prints
Repeat the test print process if needed, making further adjustments until you achieve the desired results. Multiple test prints may be required to fine-tune the settings and ensure consistent quality.
Common Issues in Ink Test Prints
Color Mismatch
Color mismatch can occur due to differences between digital and printed colors. Ensure that your digital files are in the correct color profile and that your printer is properly calibrated to match those profiles.
Ink Smudging
Ink smudging can happen if the ink does not dry properly or if there is excessive ink application. Adjust the ink density and allow sufficient drying time between prints to prevent smudging.
Bleeding
Bleeding occurs when ink spreads beyond the intended area, affecting the clarity of the print. Use appropriate paper that can handle the ink type and density to minimize bleeding.
Misalignment
Misalignment can result in blurred or distorted images. Check the printer’s alignment settings and ensure that the paper is correctly loaded to avoid misalignment issues.
Tips for Successful Ink Test Prints
- Regular Maintenance: Keep your printer well-maintained to ensure consistent performance. Regularly clean print heads and check for any mechanical issues.
- Use Quality Materials: High-quality paper and ink can significantly impact the final print quality. Invest in good materials to achieve better results.
- Calibration: Regularly calibrate your printer to maintain color accuracy and consistent print quality.
- Record Settings: Keep detailed records of your printer settings and adjustments. This can help in troubleshooting and replicating successful test prints.
Conclusion
Ink test prints are an essential step in the printing process, helping to ensure that the final product meets high standards of quality and accuracy. By carefully preparing your artwork, selecting the right materials, and following a thorough testing process, you can achieve the best possible results for your print projects. Regular testing and adjustments will help you maintain consistent quality and avoid common printing issues. Embrace the ink test print process as a valuable tool in your printing workflow to achieve exceptional results.
