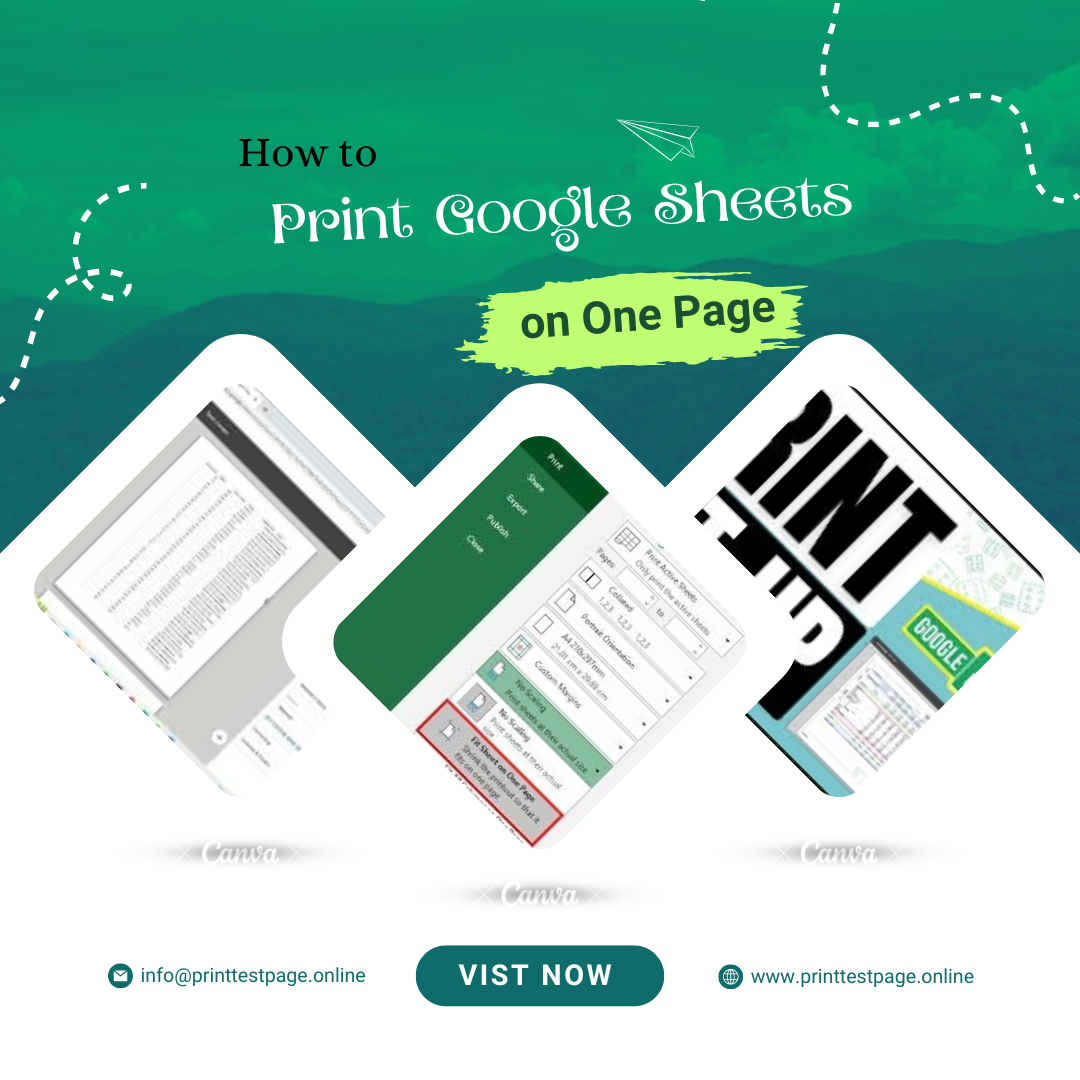
Printing Google Sheets can sometimes feel like a puzzle, especially when you want everything to fit neatly on one page. Whether you’re preparing a report, sharing data with colleagues, or just trying to minimize paper use, mastering the art of printing on one page can make a big difference. In this guide, we’ll walk you through the steps to print your Google Sheets efficiently, and we’ll highlight the importance of using a Test print page to ensure everything looks just right.
Understanding the Basics
Before diving into the specifics, it’s important to understand why you might want to fit your Google Sheets onto a single page. Often, large spreadsheets with numerous columns and rows can be overwhelming when printed across multiple pages. By fitting your data onto one page, you can:
- Ensure Clarity: A single-page printout is easier to read and understand.
- Save Paper: Reduces paper waste by minimizing the number of pages used.
- Simplify Sharing: One-page documents are more convenient for distribution and review.
Step-by-Step Instructions
1. Adjust the Print Settings
The first step to printing Google Sheets on one page is to adjust your print settings. Here’s how you do it:
- Open Your Google Sheet: Go to the Google Sheet you want to print.
- Access Print Settings: Click on File > Print or press
Ctrl + P(Cmd + Pon Mac). This opens the print preview window. - Select the ‘Fit to Page’ Option: In the print preview window, look for the option that says “Fit to page” or “Fit to width.” This setting adjusts your document to fit onto one page.
2. Customize Page Layout
Next, you can further refine how your Google Sheet will look:
- Change Paper Size: Ensure the paper size is set to A4 or Letter, depending on your region. This can be adjusted under the “Paper Size” dropdown menu.
- Adjust Margins: Click on Margins and select a smaller margin size if needed. This gives you a bit more space on your page.
- Orientation: Choose between Portrait or Landscape orientation. Landscape is often better for wider spreadsheets.
3. Preview Your Document
Before printing, always use the preview function to see how your document will look on a single page:
- Check the Preview: Use the preview pane to make sure everything fits as expected. If it looks cramped, you may need to go back and adjust the print settings or layout.
4. Print Test Page
To ensure that your settings are correct, it’s a good idea to print a test page:
- Print a Test Page: Before committing to printing multiple copies, use the Test print page to verify that the layout looks right.
- Check the Output: Review the test print to make sure the data is legible and properly aligned.
5. Finalize Your Print
Once you’re satisfied with the test print, proceed with printing your actual document:
- Print Your Google Sheet: Return to the print settings and click Print. Ensure you have enough paper and ink before starting.
Tips for Better Results
- Reduce Font Size: If the data is too large, consider reducing the font size to fit more information on the page.
- Hide Unnecessary Data: Temporarily hide columns or rows that aren’t needed for the printout to reduce clutter.
- Use Print Area: Set a print area in Google Sheets if only a specific portion of the sheet needs to be printed.
Conclusion Print Google Sheets on One Page
Printing Google Sheets on one page doesn’t have to be a daunting task. By adjusting your print settings, customizing the layout, and using a Test print page, you can ensure that your printout looks exactly how you want it. This approach not only saves paper but also enhances the readability of your printed data. Follow these steps, and you’ll have a clean, professional-looking printout every time.